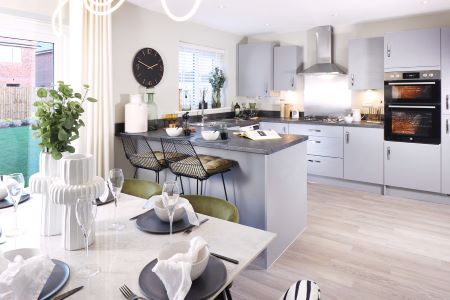
Julia Kendell, spokesperson for The National Home Improvement Show, is championing a new generation of DIY females – women who aren’t scared of pulling up their sleeves and getting their hands dirty! She believes that women are just as capable as men when it comes to home improvement.
“In my experience, DIY is about having the right tools and clear instructions or guidance – not gender! Small improvements around the home can do wonders for its overall appearance and women can get involved at all levels to give rooms a new lease of life!
I have compiled a list of top tips for women, from beginners to experts, which will help with their quest for their dream home.”
Top tips for five key areas of your home:
1) Painting
Painting is a fast and inexpensive way to transform a room giving satisfyingly instant results. Prepare the walls first by using a caulking gun to fill gaps between skirting boards or architraves and walls with flexible filler. Use a tube of ready mixed filler and palette knife or old store card to fill small cracks and holes in walls. Paint ceilings first using a medium pile roller and wear protective glasses. Paint woodwork with an easy to apply acrylic wood paint. When dry use ‘Frogtape’ to mask around room.
2) Wallpapering
‘Size’ walls using thinned down paste and leave to dry. Measure 52cm from the corner and either use a ‘plumb line’ or a long level to enable a pencil line to be drawn. Hang the first strip of paper to this line. Starting at the top, work down using a damp sponge to smooth wallpaper and push bubbles out to the edges. Trim the top and bottom edges with a sharp blade or scissors. Pattern match to the edge of the first strip allowing a couple of inches top and bottom.
3) Hang a shelf
First be sure what you are fixing into. A solid wall requires a power drill to drill into. Work out the first fixing point and holding the drill at 90° to the wall, start slowly and apply firm pressure as you drill. Taping an open envelope under the hole will catch brick-dust as the drill bit penetrates. Drill only as deep as the depth of the screw. Tap a wall-plug into the hole and fix the bracket firmly. Position the shelf on the bracket and, using a level, determine where the next fixing point should be drilled. In a stud wall, screw a plasterboard fixing into the wall then screw the bracket in place as before.
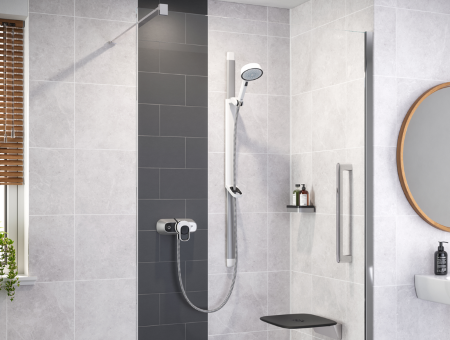
4) Seal around a bath or basin
It is important to replace the sealant behind a bath or basin if cracked as water will splash behind and mould growth will occur. Remove the existing sealant using a sharp blade. Clean and dry the area thoroughly. Cut the nozzle of a tube of specialist bathroom flexible sealant at an angle, and apply in one sweep. Use masking tape to ensure a clean straight edge. Using a round-ended tool, smooth the sealant and leave to dry. Remember to fill the bath with water before you start so that the sealant doesn’t crack again.
5) Transform furniture
Forget the flat-pack, an unloved item of old furniture can be transformed with a lick of paint. Use a vibrant paint to rework the inside of an old dresser and provide a backdrop to contemporary dressings. Chairs can be sprayed with paint to provide a smooth surface, or use strips of fabric to make a patchwork look, then lacquer to give a durable finish. Carefully sand edges back to give a vintage feel to painted furniture.